Friday 28 February 2014

Friday Die Day

Hello friends
Friday Die Day this week is a tutorial featuring the new Create A Rose die - 
part of the Create A Flower series.
I hope to bring you a tutorial for each of the flowers so if you have a 
favourite please keep a look out.
You receive 4 die templates within the set - both the petals and leaves are joined
which makes die cutting a lot speedier.  
Here you can see how they look cut/embossed.
With each petal it is a good idea to create dimension and shape - using a roller ball tool,
end of craft knife, anything to hand really(!) that will manipulate your petals.
Press down to create a cup shape.
Using a pokey tool bend back the outer edges of the petals.
Here you can see an array cut/embossed in the process of being shaped.
For my flower I did not quite use all of these petals, I had a few small ones left over.
To begin to assemble use the flower shaped die cut as your base -
begin to attach the petal tabs one at a time.
You can use the points on the flower shape base piece as a indicator as to where the petals
can go - in my mind I placed them north, south, east, west!
The glue (I use Cosmic Shimmer) is still wet here - it is a good idea to go slower than I did!
This is the view from the back.
Begin to add more petals, alternate them so you are filling any gaps.
I love this idea - this is the half star shaped die cut, cut/emboss and then wrap and glue.
Squash it down a little and then attach to the back of your flower -
if you were creating a vase of these flowers it all adds to the overall look.
Completed flower minus its leaves.
Now dressed with leaves!
A tip I thought of after I made my flower! Spritz your petals with a tiny
bit of water to flex the paper fibres - this will help when curling the petals.
I use these tiny misters.
The Create A Rose is available for pre-order here.  They are expected in stock
soon - March is going to be a very busy month - all the pre-order goodies arriving!
Also available in this range is Daisy, Gerber Daisy, Lily, Stargazer Lily, Sunflower, 
Aster and Iris - all can be found here.

Elliott has produced a Friday Die Day video too this week - I've placed that below.
It details the same steps but with my dulcet tones!

Take care friends - have a brilliant weekend,
I'm crafting!

Thursday 27 February 2014

A Tiny Survey...

Hello friends
I planned to take a photo yesterday of the High Street where my
shop is without a huge container ship cruising along the river so you could see the difference,
but...I only just remembered as I got to the car park!
Instead, you've got the view of the River Thames from the car park
which is just a stone's throw from the shop.
Yes, don't fall over in shock - that is actually a blue-ish sky!

This is how it looks mid-Winter/mid-blizzard - the river obscured by snow!
We haven't seen any white stuff here this winter -
I'm hoping it will just bypass us now and visit next year.

As mentioned yesterday I am conducting a tiny survey today.
It truly is just one question but I am keen to know your views.

The survey is in relation to stamp companies, which ones do you favour?
At the trade show in Birmingham I was astounded to see so many different stamps.
Pretty quickly I picked out the ones I liked, but running Hope and Chances
isn't about my favourite products - it is taking into account
my customers' tastes and that is why I am reaching out to you all.

Within the survey (just one question!) I have listed some well known stamp companies and also
some lesser known - there is also the option to click 'other' and state your
choice if it has not been specified. 

If you click here you should go straight into the survey.
Once complete if you could click 'next' and then 'done' please -
it does not calculate statistics unless you press 'done' (Elliott stressed that!)

Once I collate the results I will begin to place orders.
I will keep you posted - it should prove really interesting.
Thank you for all your help - I value your input.

Yesterday I referred to the faux leather look technique from kraft cardstock
using glycerine and water.
There are various You Tube videos detailing this including Sheena Douglass'
which I have placed below.


Have a great Thursday and I'm back tomorrow with FDD!

Take care friends.

Wednesday 26 February 2014

Noteable Notebooks!

Hello friends
I was greeted by this scene as I arrived at the studio/shop yesterday.
That is a container ship cruising past on the River Thames, 
did I mention how close my shop is to the river?!
At times these ships seem to blot out the whole skyline, never ceases to surprise me.
Yesterday's class...a view of the desks just as cake was served...
mini lemon and coconut loaves - love these cake cases.
Notice there are chocolate biscuits too nestled with the removable tape!
Ros mentioned yesterday the leather look technique.  This is by spraying craft paper with
a mixture of glycerine and water, scrunching and using an embossing folder.
Well, we did that at the class - thank you to Sally who did the demo.
Here is mine drying before a bit more scrunching. 
 And here is a whole array of them drying!
And then onto the altered notebooks...
Tessa's 
Sara's 
Sandra's (not quite glued in place but nearly there) 
Janice's 
 and Sally's
Thank you ladies, it was a really fun morning.
More Coffee and Create classes being revealed soon 
including some being held on Saturdays.
All the details will go up on the website.

The majority of pokey tools have now been dispatched and I'm already 
receiving emails from you saying how delighted you are.  
I will pass on all your comments to Dad.

Tomorrow, all going well there is going to be a little survey on my blog...
intriguing eh!?

Take care friends.
Oh yes, the rain returned here too - I definitely spoke too soon!

Tuesday 25 February 2014

Wowed by Wood!

Hello friends
Today's Coffee and Create is an altering a notebook and
I'm delighted to report I have a full class.
We are going to be experimenting with M-Bossabilities, dies,
stamps and more.
I'm rather partial to altering notebooks...
pretty....
autumnal...
leather embossed look...
fresh and blue... 
I will be taking photos of everyone's notebooks today to share with you all.

Dad's bird houses look like they could be a great success,
I don't think I'm going to let him out of his workshop for a while! 
From today I will have some available in the shop to purchase. 
As mentioned they come with a fixing bracket and I have also prepared 
a useful information booklet, how to site your bird house, wood care etc.  
The price is £18.95. 
I am going to look into posting prices as I think there may be 
enquiries from those who do not live locally.

Also, my clever Dad created some more pokey tools yesterday,
this time with fine points for those who are interested in paper piercing.
Should you wish to order a fine point pokey tool, just mention 
it in the notes section when ordering on the website.

Enjoy your day friends, I'm liking this lack of rain right now!
Take care.

Monday 24 February 2014

The difference a year makes...

Hello friends
I hope you all had a good weekend and got to see some sunshine.
I took some time out yesterday to do some spring cleaning of my computer photo
files - I take lots and lots of photos and I need to keep them organised..
I just forget sometimes!
It was exactly a year ago today that my blog post featured 
Hope and Chances Creativity HQ, a little insight into
my typical day, where I do all the paperwork etc.  
I had to smile because things have changed a little in the space of one year.

In 2013 my little office space...
 Today!
An extra screen and a metal drawer filing system - don't open those drawers!!!
(Elaine - that's one of your cards on my shelf).
I rotate all the cards that friends send to me so I get to see and 
appreciate them when working.
 2013
The in-try filing system.
Today - the filing system has definitely grown!
I must stress these photos were taken after hours of sorting and tidying ...
I was tempted to take the photos when they were in a real muddle but 
decided you would probably think me very inefficient! :)

Did you espy the screen saver on my computer?
It is one of my most favourite scrapbook pages ever, all created from 
I've placed this page on display in the shop window - 
it does receive quite a few comments, I suspect because Bella does look a tad cute!

A wonderful response to my Dad's handmade pokey tools, I've asked him to pop
down his shed to create more.  I've received some enquiries as to whether they could be
made with a very fine tip for paper piercing, Dad is going to do some testing
and I will photograph them to see what you think.
He also makes the most wooden trinket boxes and bird houses.
 Blue Tits love them.
They come with a pre-cut and drilled wooden bracket so you can attach them to fences,
walls, tree branches etc.
I will keep you posted when these will be available in the shop and website.
I like to keep him busy!

Tomorrow's Coffee and Create is Altering a Notebook, still a place or two left
if anyone is in Gravesend and fancies a fun craft and cake fuelled morning!
Take care friends.

Sunday 23 February 2014

Little Wooden Lovelies!

 Hello friends
Thank you for taking time out of your day yesterday to leave
comments and reviews - I really appreciate it.
I think there were some issues with the 192.com website, I know I haven't been
able to upload photos so they have some real gremlins in the works over there!
I will investigate and I may take the liberty of asking you again once I know
things are sorted :)

Today a jar full of little wooden lovelies!
I mentioned in the week that my Dad makes pokey tools,
each one is turned on a lathe and waxed or varnished. 
Every single one is unique and they are very comfortable to hold.
Well, I had quite a few enquiries so I thought I would get organised...
They are now on the website under Crafty Tools and Essentials and 
available to purchase here.
I'm slowly including my entire family into my little Hope and Chances business!

There is the option to leave a note if you order a pokey tool, specify what colour wood
you prefer, medium or small size.

A bag of purple and lilac knitted squares arrived from Sue along with 
this beautiful card - thank you so much Sue, the colours are lovely and
you even sewed in all the ends!  Very very grateful.
There is progress with the knitted blankets which I will share with you soon.
By the time I'm supposed to take photos the lighting is bad!
I spoke to Ronald McDonald House, Camberwell in the week and they have asked
to have some blankets to make their rooms brighter and homely.
When Elliott and I are next at King's Hospital we will be dropping in a couple  
and I will definitely take photos...whatever the lighting!

What other news... oh yes Heartfelt Creations, I'm beginning to stock their dies and
stamps - a little collection at the moment but it will be growing and, as always,
any requests - just let me know.

I worked on lots of projects for Spellbinders yesterday but I cannot share them just yet..!
I can tell you that the new In'spire Line is superb and I've got nearly all of them on 
pre-order for the shop and website.  
The philosophy behind these designs is that they are trendy and inspirational.  
The size work well on its own or can be easily mixed with other Spellbinders dies.  
I was going to list my favourites but there are too many!
If you nip over to the Spellbinders website this one pops up on their banner,
Typewriter - isn't it great.
Roast chicken tonight and I'm cooking - I think my family has forgotten
I cook, it has been a little hectic these last few weeks.
Enjoy your day and yes please, we would like some more of that sunshine
that turned up unexpectedly yesterday!
Take care friends.

Saturday 22 February 2014

A Happy Tag and Reviews

Hello friends
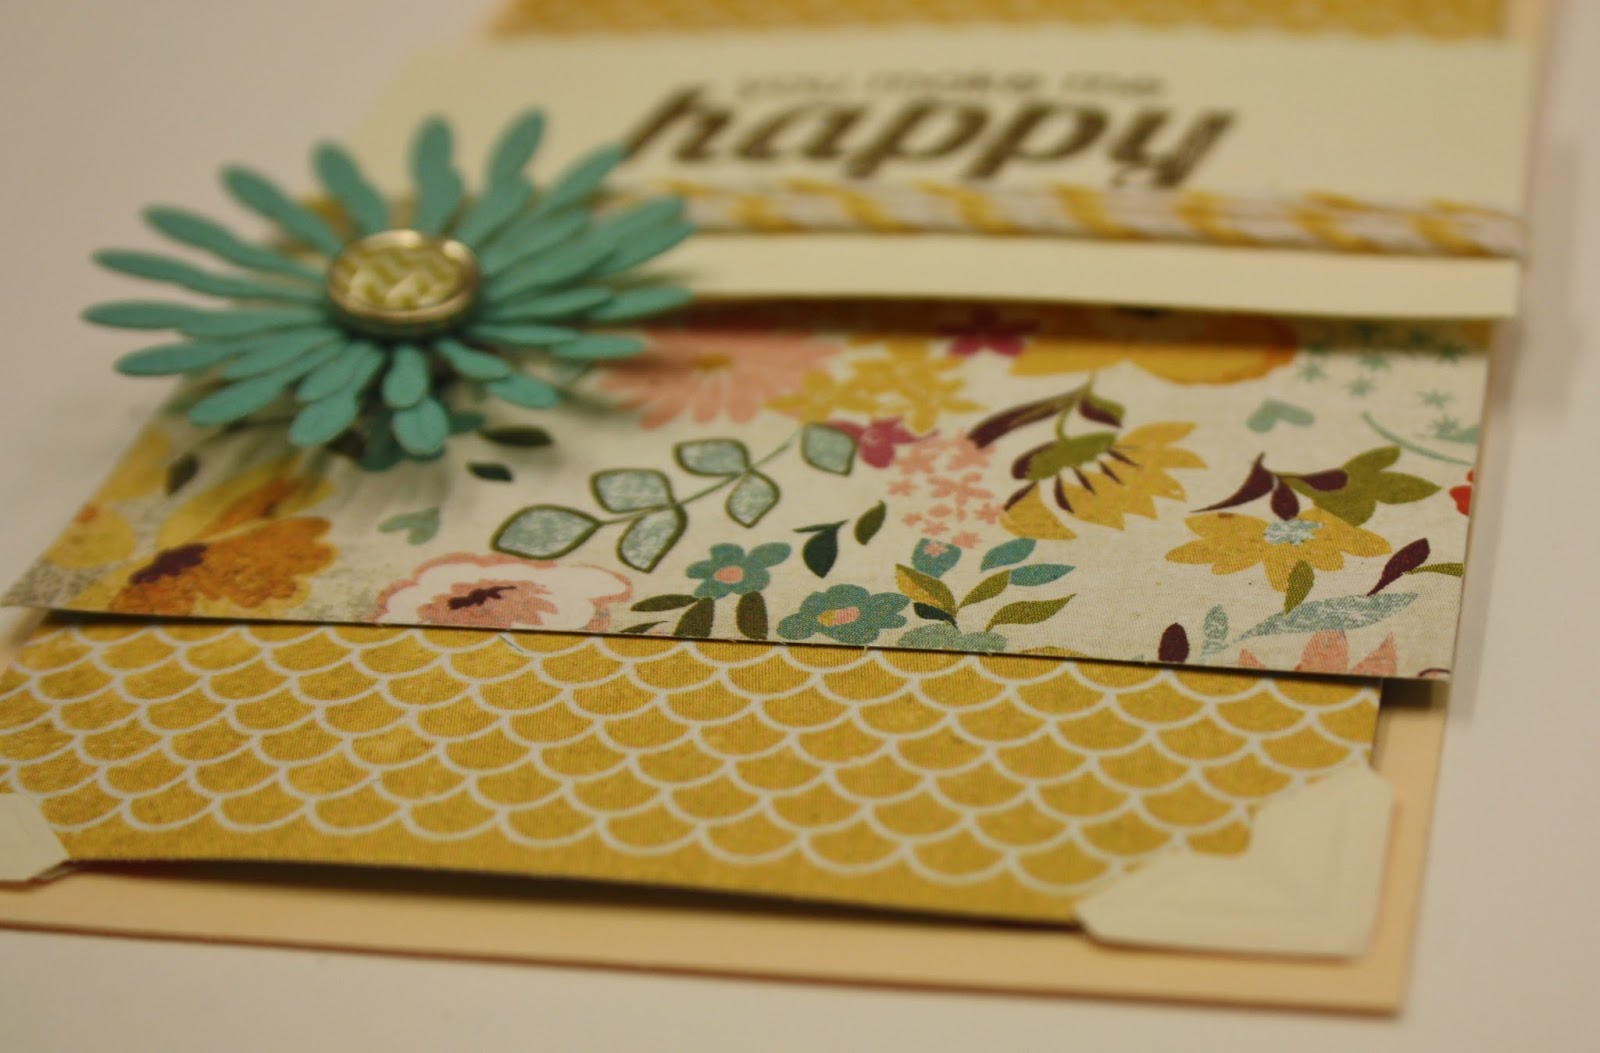
Today sharing a tag that I've just made for Scrapbook Adhesives by 3L.
All the details including step by step photos can be found here

I am a real fan of using their Photo Corners but not on photos! 
If you have a spare moment today I would be grateful if you could leave
a comment on their blog please.

Also... (I am so demanding today!) I am still following up advice from the business talk
I attended at Stitches.  My studio/shop is now registered with 192.com here

Photos of the studio/shop are due to be uploaded on there soon which will make
it look prettier!
There is a little place to leave reviews on their website so if you have visited and, more importantly,
you enjoyed your visit... I would be very grateful.
Take care friends, wishing you a great day - I'm back soon.

Friday 21 February 2014

Friday Die Day

Hello friends
Today a FDD with a slight difference.  As I've been away for some of this week
I am cheating a little and looking back on a very early FDD, in fact one of the first
dies I featured just under two years ago!
I know some of you may not have been following my blog then so 
this will be all new to you :)


You receive 6 die templates with this set, 3 spiral flowers and four leaves (2 are joined).
Here they are cut/embossed and stencilled.
Two ideas to curve the petals of the blossoms - use a piece of foam 
(mine came with some brads I purchased).   
Select something round, (I've used the end of my craft knife but there is specialist 
rolling-ball tools to do this).  Push down each petal into the foam, don't worry if you feel it is 
ruining the paper, all adds to the end result.  

 You will begin to see the petals curve inwards.
 Once you have done this take the outer edge and coil to the middle - you can curl 
fairly tightly and once all curled let go.
 Another technique is to start the same - push petals down into the foam but then flip the
flower over and push down on the reverse side.
 Here it is before rolling.
 After rolled you can see the outer petals are bending outwards.
 Moving on to the leaves - the two that are joined together are deliberate,
it is so you can pinch the stem to create them at an angle.  
You can see a tiny fold line in my photo.
 After they have been pinched together.
 The two Bitty Blossoms curled differently. 
They then require some tweaking and perhaps a little distress ink 
to the edges and a pearl/gem to the middle - purely your choice. 
I do love Bitty Blossoms - nearly as much as butterflies!
They are available to purchase here.

Following on from yesterday's blog post featuring decorating the
Charity Craft Caddy, Carole has completed her kit.
She has used the reverse of the papers and it looks wonderful.
There are further photos here.
If you have finished your kit I would love to see photos, I would like to
feature them on my blog and Facebook if you are agreeable.

Have a wonderful weekend, take care friends.

Related Posts Plugin for WordPress, Blogger...